Quickstart for OpenSage-ADK
This guide shows you how to get up and running with OpenSage-ADK. Before you start, make sure you have the following installed:
- Python 3.12 or later
uvpackage manager- Docker for sandbox execution
Installation
Step 1: Install uv Package Manager
Step 2: Clone and Setup
Clone the repository
Create virtual environment
Install dependencies
Step 3: Verify Installation
Check OpenSage CLI is available
Creating an Example Agent
This section shows the minimal structure and conventions for writing an agent that OpenSage-ADK can load via opensage web and evaluation entry points.
Step 1: Prepare an Agent Directory Layout
Create a directory for your agent and add an agent.py file:
Step 2: Implement a Minimal agent.py
The agent.py file contains a mk_agent() factory function that returns your root agent:
import os

from google.adk.models.lite_llm import LiteLlm

import opensage
from opensage.agents import OpenSageAgent


def mk_agent(opensage_session_id: str, model=None):
    session = opensage.get_opensage_session(opensage_session_id)

    if model is None:
        model = LiteLlm(
            model="YOUR_MODEL_NAME",
            api_key=os.environ.get("YOUR_API_KEY"),
        )

    return OpenSageAgent(
        name="my_agent",
        description="My custom OpenSage agent.",
        model=model,
        instruction="You are a helpful assistant.",
        enabled_skills="all",
        tools=[],
        subagents=[],
    )
API Key Settings
If you omit api_key=... in LiteLlm(...), LiteLLM will use its default credential resolution from environment variables (for example, OPENAI_API_KEY for openai/... models and ANTHROPIC_API_KEY for anthropic/... models).
Step 3: Run Your Agent with OpenSage-ADK
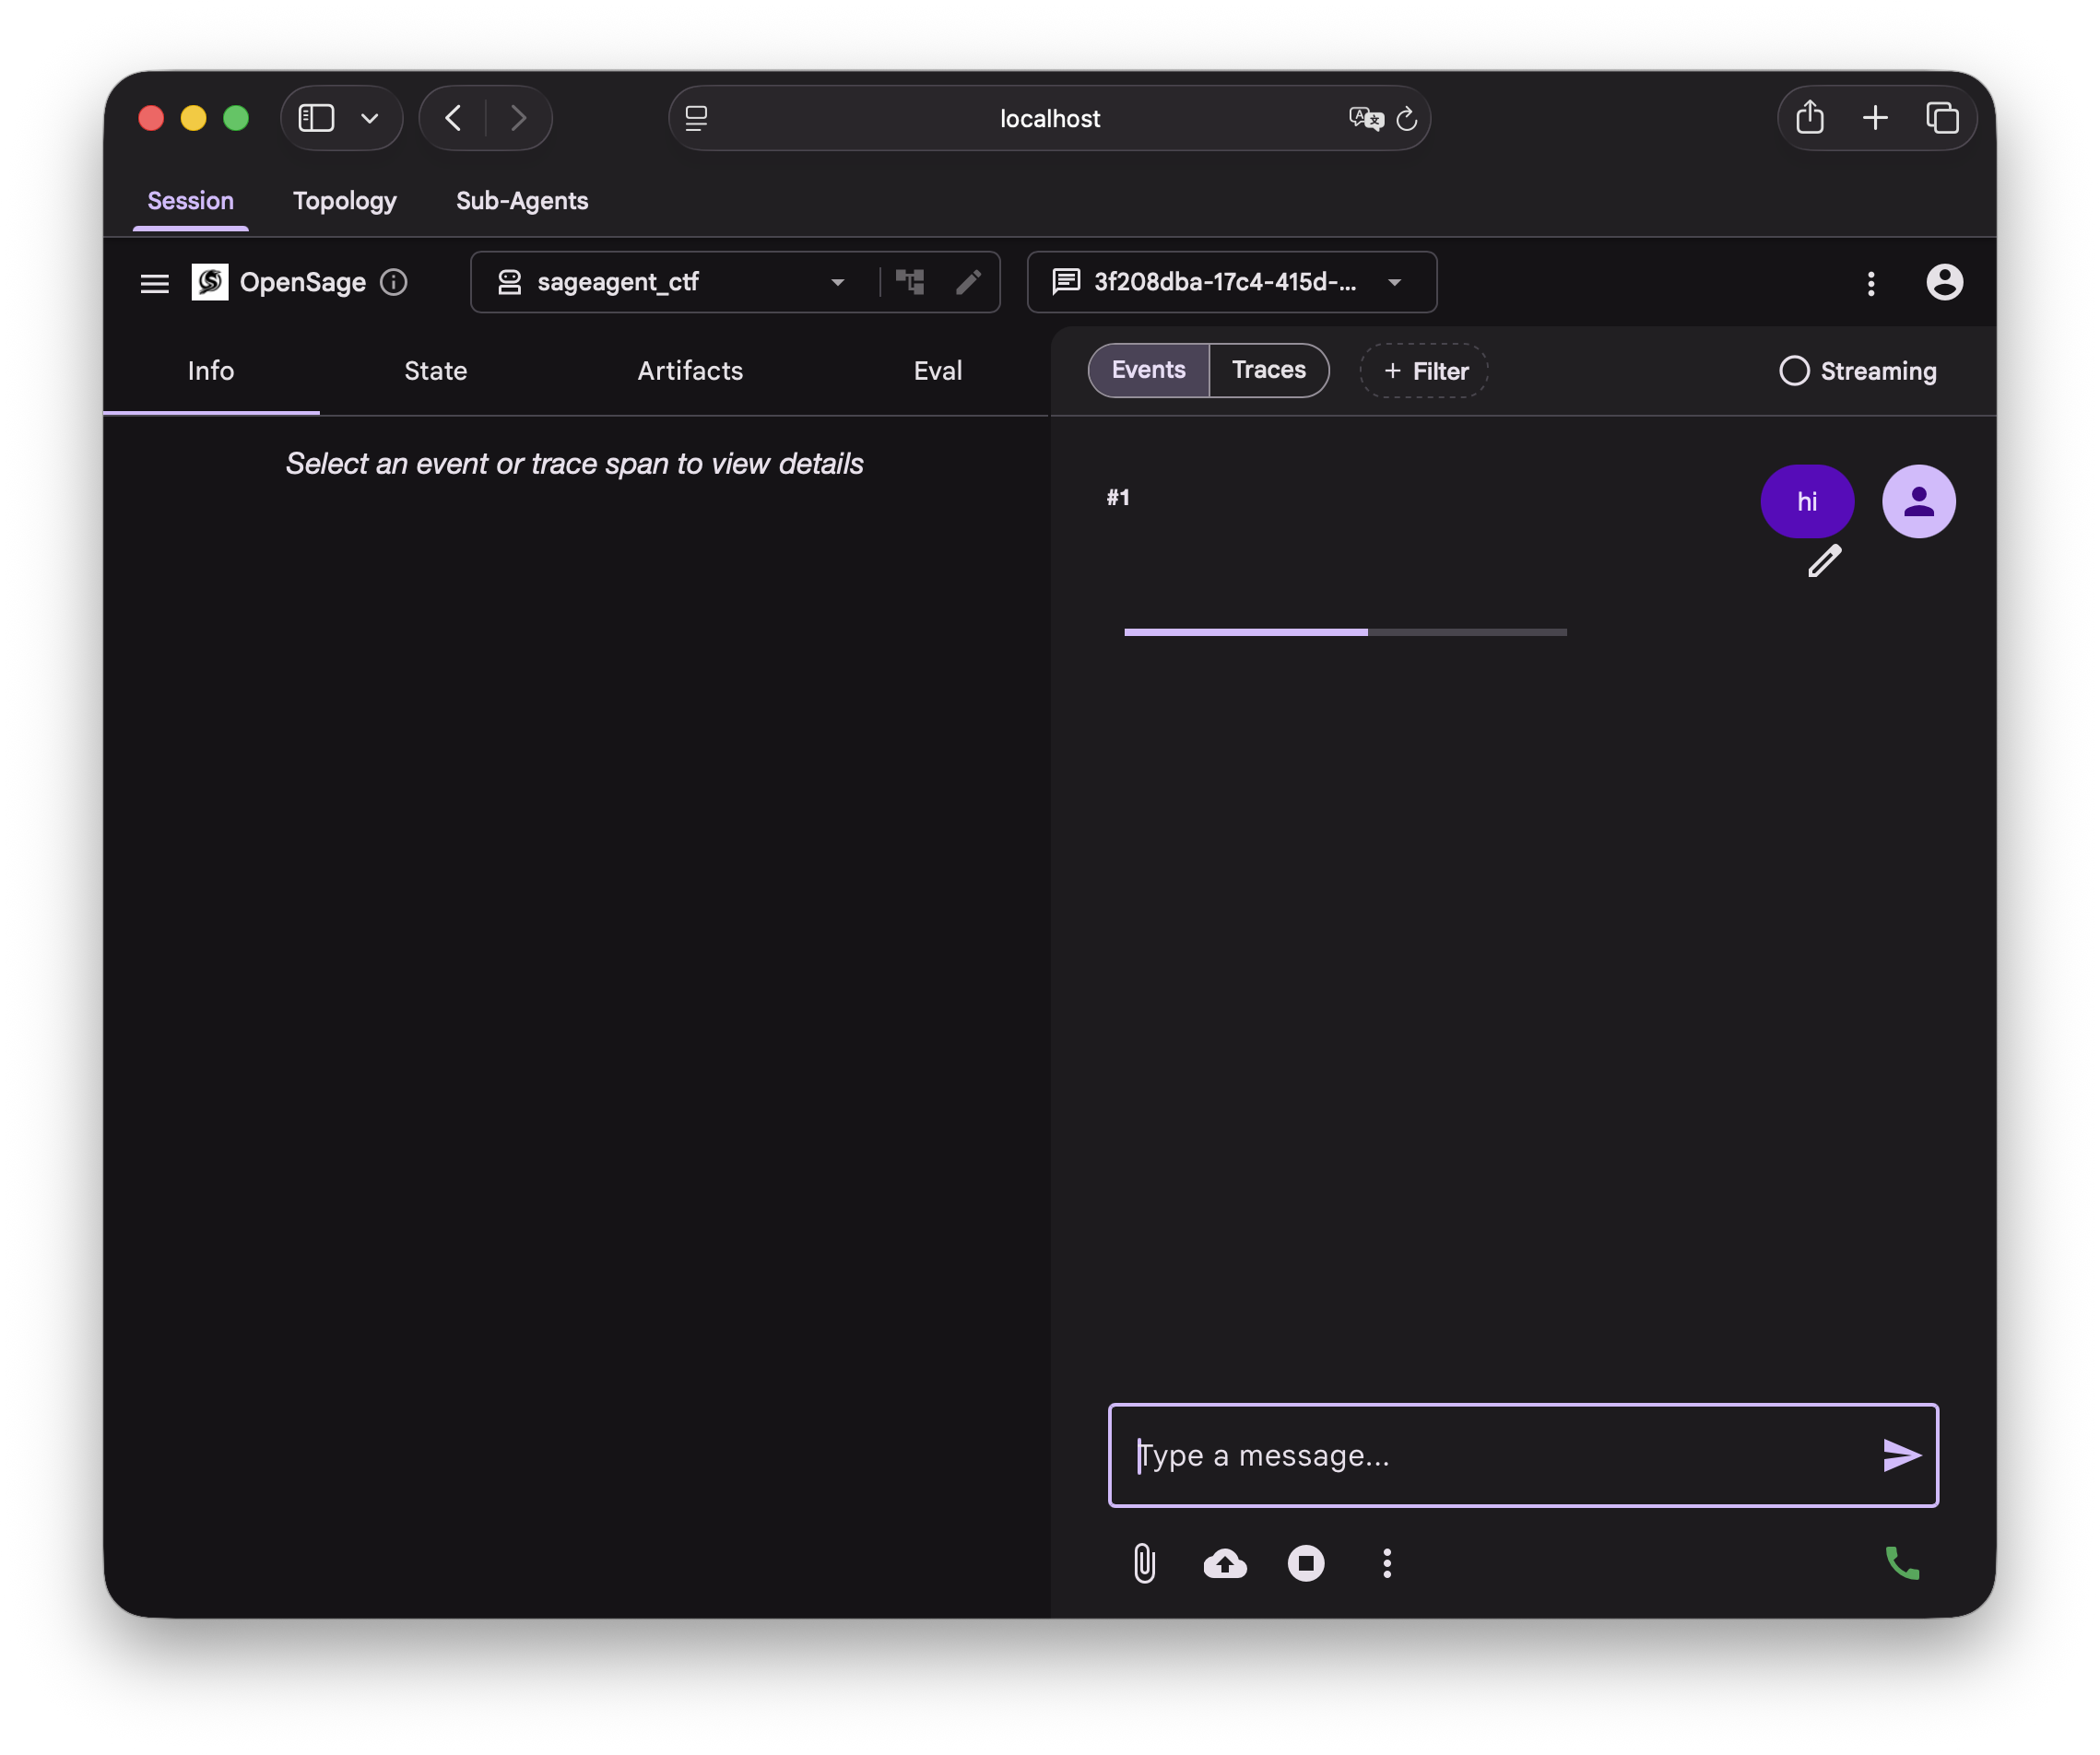
Open the web UI at http://localhost:8000, chat with the agent, and inspect tool calls and session state from there.
What Is Next?
Before diving into more powerful features, familiarize yourself with the core components of OpenSage-ADK. Reading the Google ADK documentation also helps; OpenSage-ADK builds on top of it.
To use all OpenSage-ADK features, see the following sections:
- Customize Agents: Configure your agent to use all OpenSage-ADK features
- Examples: See more agent patterns and configurations provided by OpenSage
Customize Your Agent Further
The Customize Agents section is the place to shape an agent to your workload:
- LLM: pick the reasoning model and add profiles for summarization or claim-flagging.
- Sandbox: declare the containers your tools run in, and the sidecars (Neo4j, MCP servers) they depend on.
- MCP Tools: wire in external tool servers over SSE, stdio, or streamable HTTP.
- History: keep long runs from overflowing the context window.
- Plugins: opt in to doom-loop detection, summarization, quota tracking, build verification.
- Neo4j Logging, Extra Build: advanced sections for graph memory and target compilation.
If you want a single file that uses most of these at once, see the complete example.
Understand How OpenSage-ADK Works
The Inside OpenSage-ADK section traces each subsystem back to its source under src/opensage/. Good starting points:
- Sessions: the per-run root object that owns configuration and sandboxes.
- Sandboxes: backend vs initializer, pruning, shared volumes.
- Tools: how Python functions, MCP toolsets, and bash skills are normalized.
- Plugins: the lifecycle pipeline that powers summarization and quota tracking.
- History: truncation vs compaction.
- Multi-Agent:
AgentTool, dynamic sub-agents, ensembles,ToolCombo.
Study Production Agents
The Production Agents section walks through the agents the OpenSage team runs on SWE-Bench Pro, CyberGym, Harbor, and CTF benchmarks. Each page ships the real agent.py, the config.toml, and the design rationale.
Extend the Framework
The Developer Guide covers the extension points:
- Adding Tools: new Python tools, bash skills, or MCP toolsets.
- Adding Plugins: new ADK plugins or Claude Code hooks.
- Customizing Sandbox: new sandbox types or backends.
- Evaluations: running and authoring benchmarks.
Look Things Up
The Reference section is the place for exact field types, CLI flags, and troubleshooting:
- CLI Reference,
opensage web,dependency-check. - Configuration Reference: every supported field, section by section.
- Troubleshooting.
Get Involved
- Community: Discord, issue tracker, discussion.
- Contributing Guidelines: code style, commit format, PR process.